Nested Deployment Windows Server 2016 TP4!
Hey fellow vBrisketeers! I hope all is well, as we ramp up for our big event later this week at the Pittsburgh Beer Market (BTW, it’s not too late to REGISTER NOW) I’ve been spending time this past weekend playing with the latest Technology Preview (TP) #4 of Windows Server 2016.
Well first off you need to visit the Windows Server TechNet Evaluation Site to register and download the latest bits. This in tandem with Windows 10 will allow you to take full benefit of all the goodness that Microsoft is bringing to us.
Once the bits are downloaded you should deploy your first TP4 Virtual Machine. Since the majority of our readers are in vSphere homeboys (Someday you’ll see the light 🙂 ), I’ve taken the liberty to deploy my VM as a VMware vSphere Virtual Machine. Simple and easy deployment, all you need to do is choose the OS option for “ Windows Server 2012 (64-bit)” within the VM creation wizard.
Upon successful deployment of my first TP4 VM I knew I would have to manually edit the .VMX file of my Virtual Machine – and to do this instead of Putty and VI Editor, I use my install of Veeam Backup & Replication (Most people don’t realize that Veeam CAN edit .VMX files).
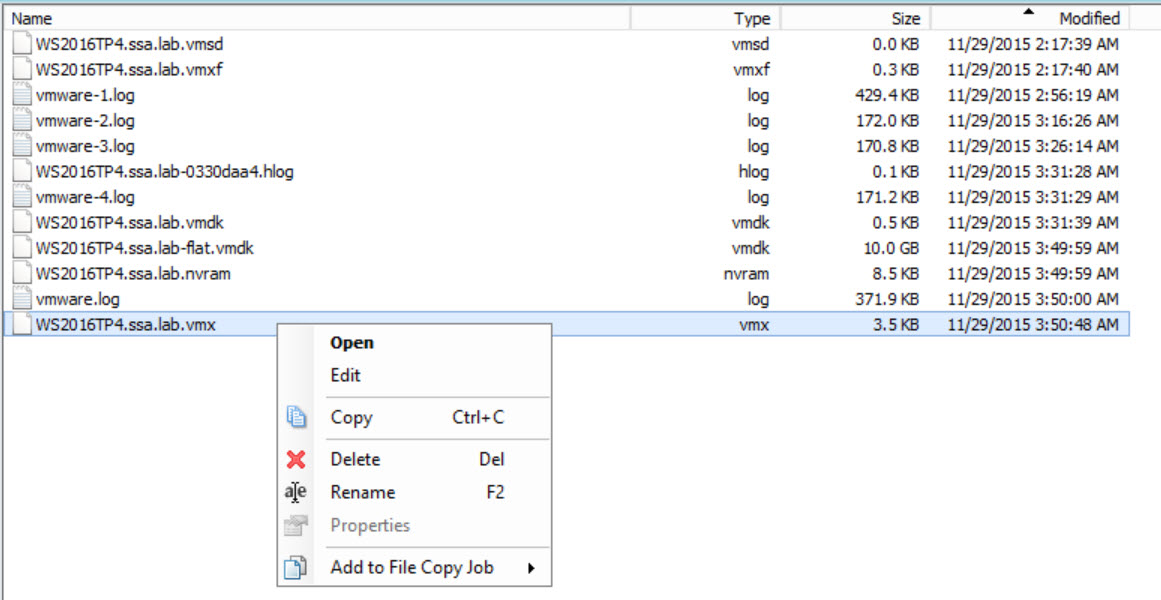
All you need to do is add these 2 lines:
- vhv.enable = “TRUE”
- hypervisor.cpuid.v0 = “FALSE”
With this I can now use Server Manager to add the Hyper-V role without issue or error, unfortunately the non-desktop experience version of Windows Server 2016 is even more minimal that the 2012/R2 Core…All that’s present is a command prompt. I wanted to rename my computer as well as add to my domain – Here’s how you can do this locally using only a command prompt:
- Rename Computer
- c:\wmic ComputerSystem where Name=<computername> call Rename Name=<ExistingComputerName>
![]()
- Join to Domain using netdom
- c:\netdom join /d:Contoso.Lab <ComputerYouWant2Join> /ud:<UserName> /pd:<Password>
![]()
Note: If you do not specify UserName (/ud:) and Password (/pd:)Windows will use the existing credentials and if you’re logged in locally, the join will fail.
Now you can use Server Manager from your Windows 10 or TP4 Desktop Experience VM to Add the Hyper-V Role without concern!
To recap Windows Server 2016 TP4 brings many new features specific to Hyper-V, more testing to come…Look for more posts later this coming week as I dig in further!
UPDATE : 11/30/2015 1:00PM EST -> This allows you to install the Hyper-V Role on your WS2016TP4 VM. However it appears that even with vSphere Hardware Version10 you cannot power on Hyper-V VMs. Currently working to see if there is a workaround.
UPDATE: 12/1/2015 09:00 EST -> After much testing, the above mentioned steps will allow you to enable the Hyper-V Role on the latest TP4 build. To further test much of the newest features coming in WS2016 you need to have powered on VMs. This requires one to have their VM running WS2016 to be on vSphere Hardware Version 11. HWv11 is available in vSphere 6.x / Fusion 7.x / Workstation 11.x. The last part is adding “winhyperv” to the guestos entry in the .vmx file for this virtual machine.
Cheers! @ClintWyckoff